HMSM B2
The early Royal Navy submarine lost in collision off Dover in 1912, and the remarkably complete wreck that still survives on the seabed.
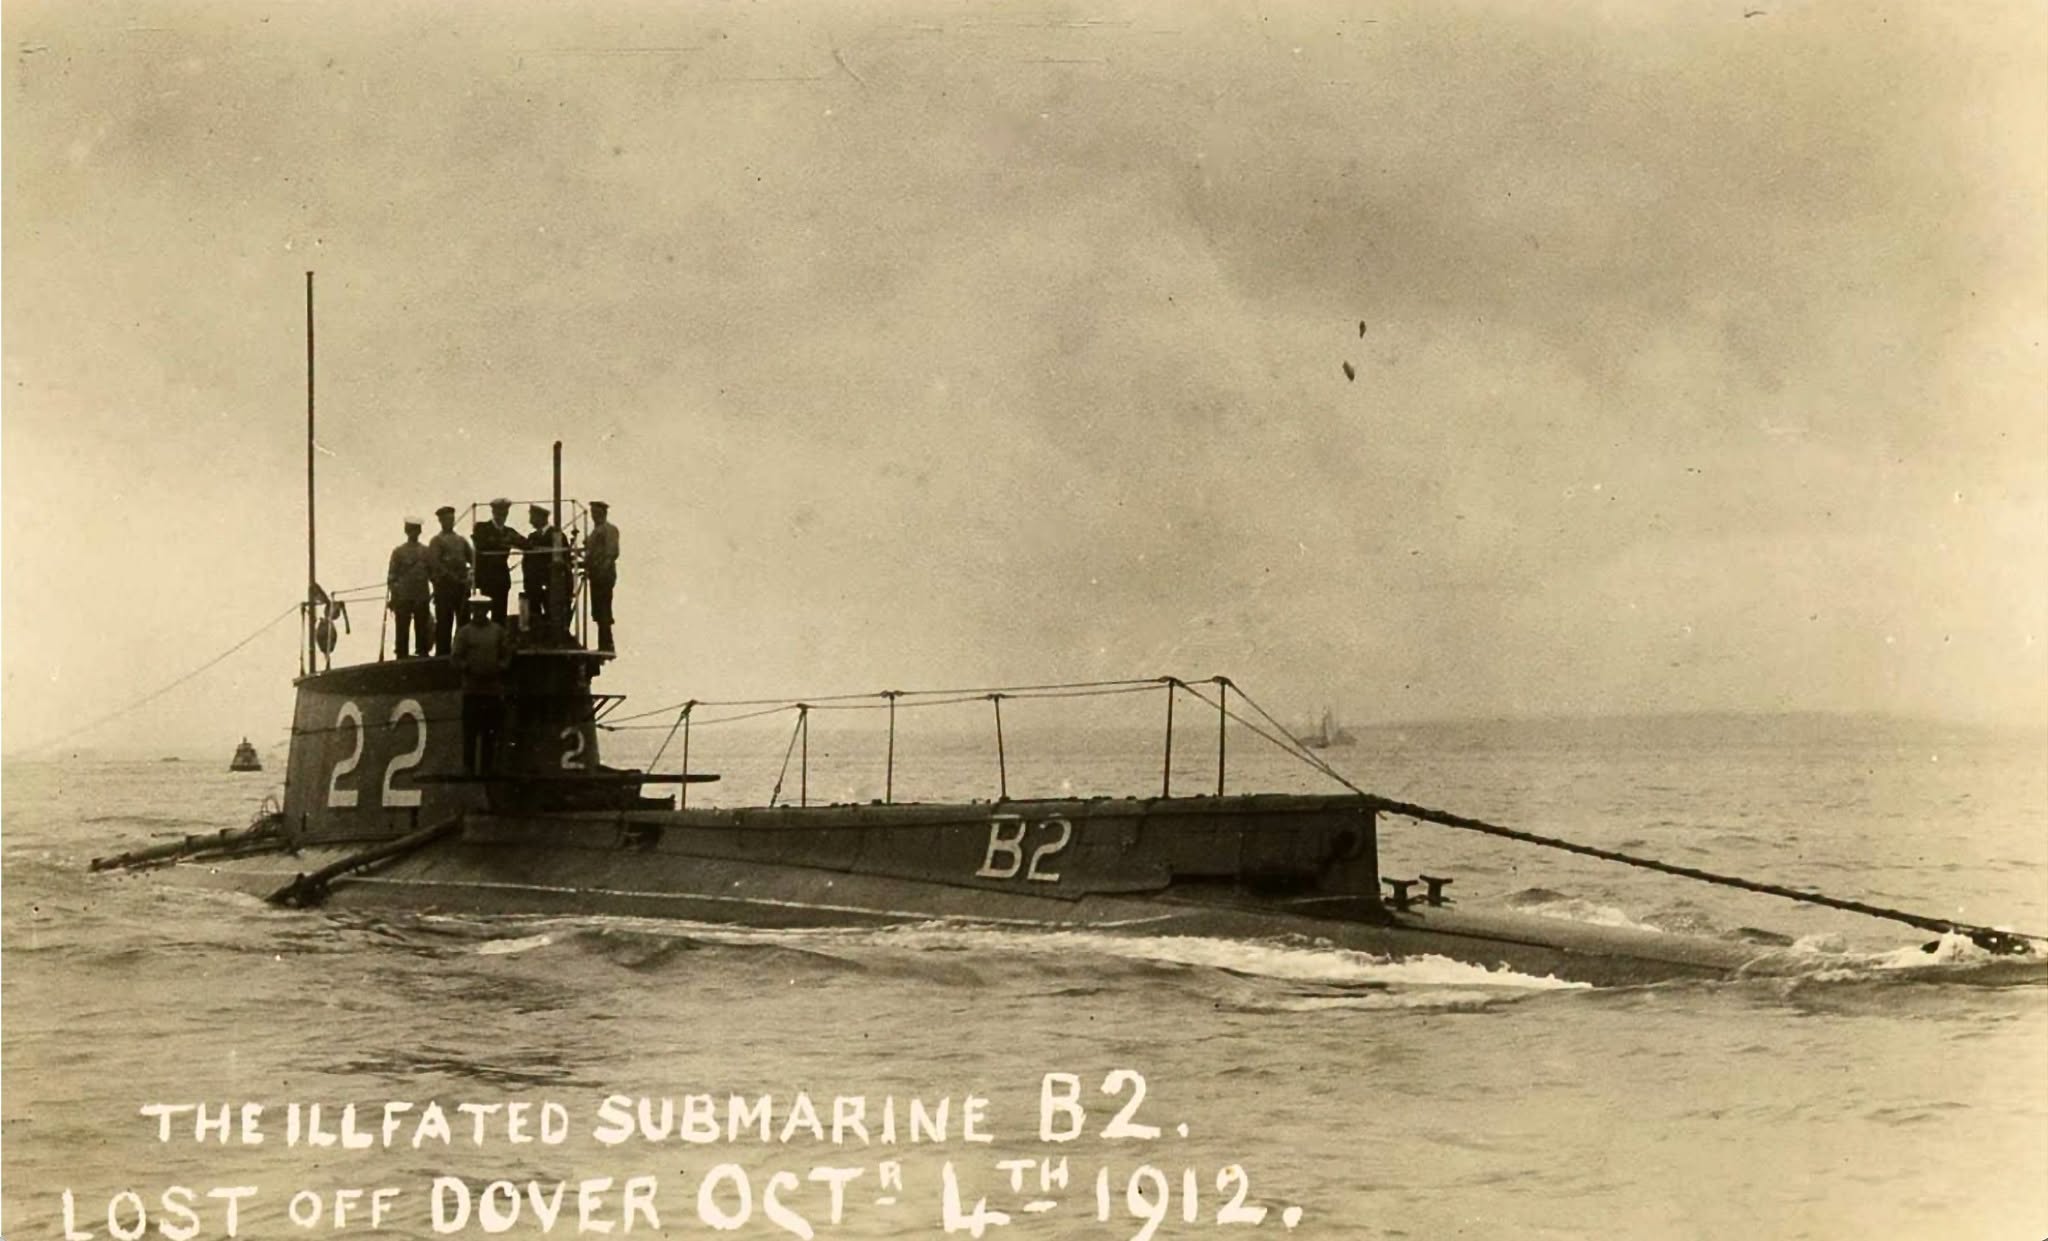
On the morning of 4 October 1912, HMSM B2 was taking part in exercises with the Home Fleet off Dover. It was still dark when the submarines began leaving harbour, and HMSM B2 was running on the surface with Lieutenant Richard Pulleyne and a petty officer on the bridge. At the same time the Hamburg-Amerika liner Amerika was making her way through the Channel towards Southampton at around 17 knots.
The two vessels were on a collision course. By the time HMSM B2 was seen from Amerika's bridge there was very little room left to do anything about it. The liner's engines were put full astern, but she still struck the submarine close to the conning tower. HMSM B2 disappeared almost immediately and fifteen of the sixteen men aboard went down with her.1
Pulleyne was the extraordinary exception. He was carried down with HMSM B2 as she sank, later recalling that he had reached a considerable depth before managing to get clear and swim back towards the surface. He eventually reappeared in the darkness and was picked up by another submarine. The petty officer who had been standing alongside him on the bridge did not survive.
There was initially some thought of raising HMSM B2, but divers found serious damage around the conning tower and there were concerns that the submarine might break apart if an attempt were made to lift her. The wreck was therefore left on the seabed, roughly five nautical miles east of Dover, along with the bodies of her crew.1
An early submarine
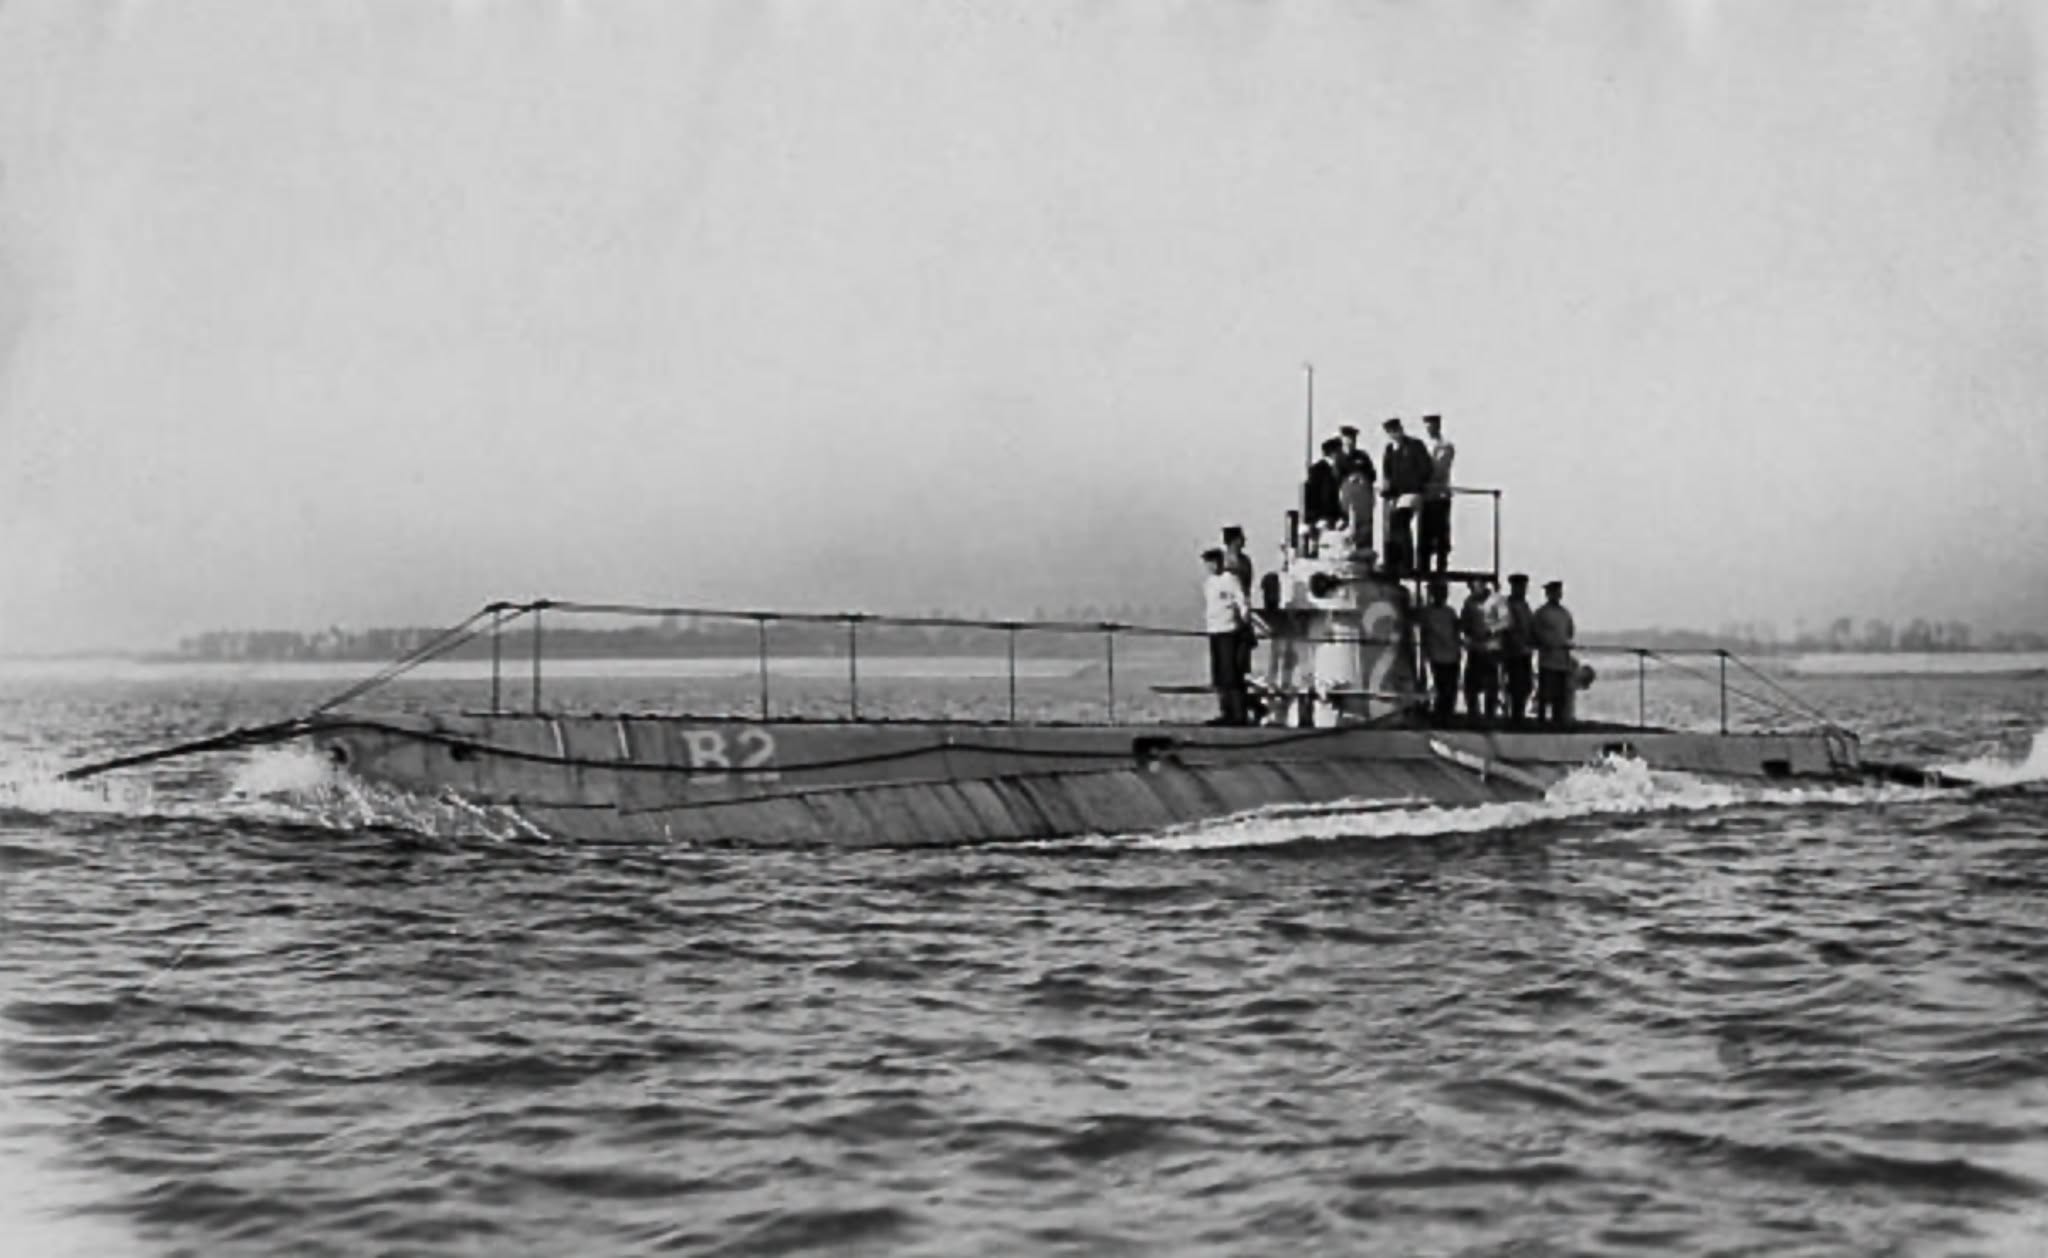
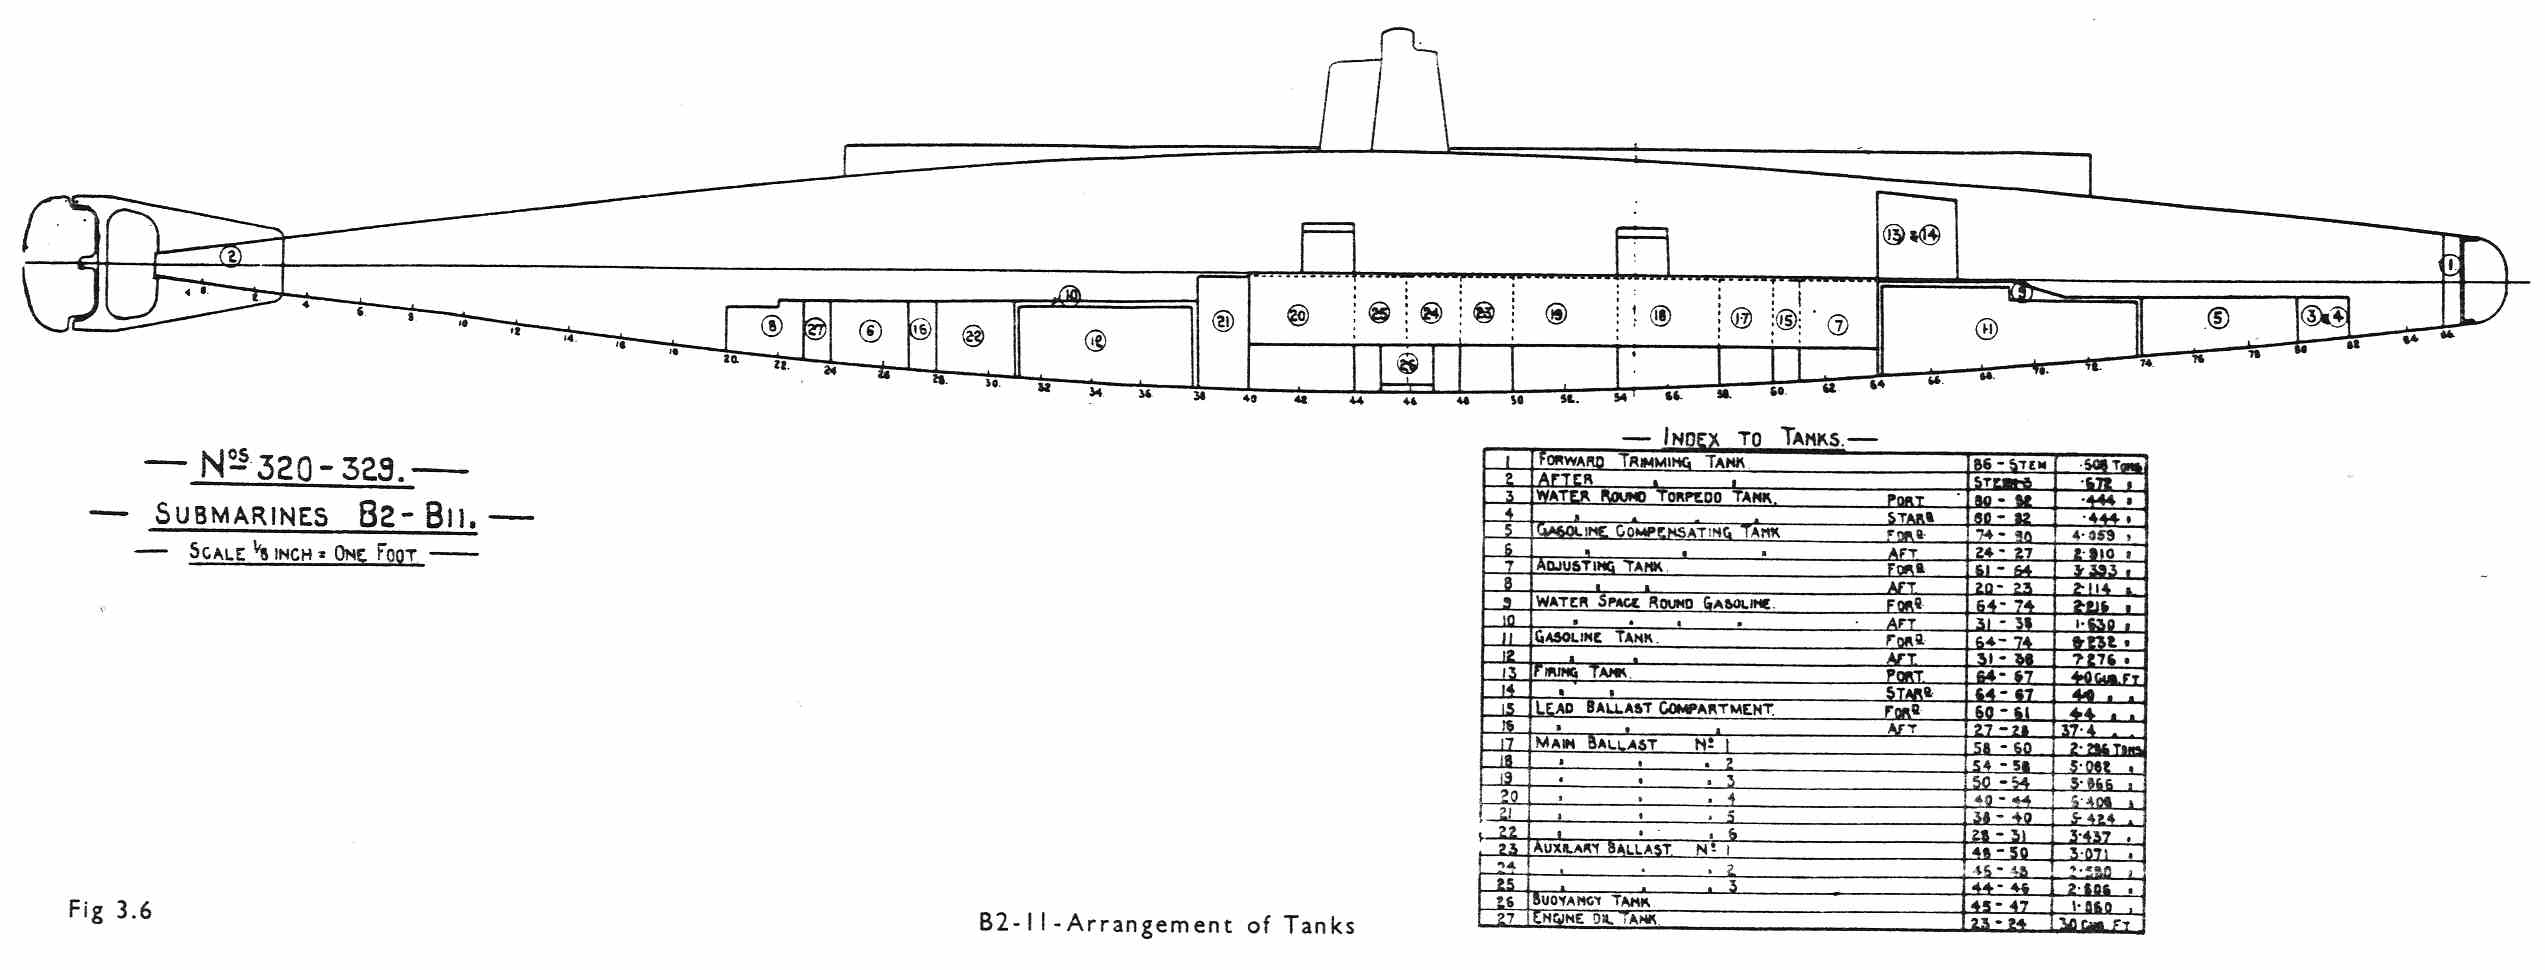
HMSM B2 had been built by Vickers at Barrow and launched in August 1905, entering service before the end of that year. She was one of eleven B-class submarines, themselves a development of the Royal Navy's very early A class. They were bigger boats, with greater reserve buoyancy and forward hydroplanes that made them rather more manageable underwater, but they were still recognisably from the experimental years of submarine design. There were no internal watertight bulkheads, for example, so serious damage to the pressure hull could rapidly become catastrophic.1
They were essentially coastal-defence submarines, built at a time when nobody was entirely certain what role submarines would eventually play. The type was developing so quickly that HMSM B2 and her sisters were already approaching obsolescence when she was lost, less than nine years after the first B-class boat had been laid down. Had HMSM B2 survived another two years, she would have found herself serving in a very different kind of war.
Instead, her loss had an unintended consequence. Every other B-class submarine was eventually scrapped or otherwise disappeared, leaving the wreck of HMSM B2 as the only surviving example of the class.1
Returning to HMSM B2
More than a century later, Wessex Archaeology returned to the wreck as part of an English Heritage investigation. Geophysical survey was carried out in July 2014 from MV Assassin, followed by diving in August. Working in the Dover Strait was never going to be particularly generous in terms of bottom time; the archaeological team managed two dives with a combined 31 minutes on the seabed, at depths of around 32 to 33 metres. Visibility, at least, was reasonably good at between three and five metres.1
The sonar showed an unmistakable submarine. HMSM B2 lies at approximately 51°07.151′ N, 1°27.596′ E, measuring about 45.9 metres long and 5.9 metres across on the survey data. She remains largely upright, although heeled by around 30 degrees to starboard, with the conning tower standing about two metres above the deck. The seabed around her is mobile sand over chalk and the tides have scoured deeply around the hull, exposing the underlying bedrock in places. This movement of sediment means that parts of the submarine can be exposed on one visit and buried again on another.1
Wreck: HMSM B2
Position: 51° 07.151′ N, 1° 27.596′ E
Surveyed length: approximately 45.9 metres
Surveyed width: approximately 5.9 metres
Orientation: largely upright, heeled approximately 30° to starboard
That is perhaps the most striking thing about the survey: HMSM B2 hasn't collapsed into an anonymous pile of steel. Much of the hull remains intact and recognisable, and individual pieces of equipment can still be related directly to the submarine's original plans.
At the bow, the wreck stands more than two metres clear of the seabed and has been undercut by scour. An opening in the port side gives a view into the pressure hull, although the interior is now largely filled with sediment. Through it the archaeologists could identify part of the operating mechanism for the port torpedo tube's muzzle door. More than a century after HMSM B2 sank, a piece of machinery once used by her crew to open a torpedo tube is still sitting where it was installed.
Moving aft, the pressure hull remains reasonably intact until the area around the conning tower, where things become much more disturbed. Here the upper casing has been torn open and there is substantial damage to the submarine. This is particularly interesting because it occurs in the same area in which contemporary accounts placed Amerika's bow. When fishing net was moved aside during the survey, another wedge-shaped area of damage became visible nearby. The wreck itself therefore seems to preserve the physical evidence of the collision that sank her.1
The conning tower
The conning tower is still the most prominent feature on the site. Although much of its outer plating has disappeared, the underlying structure survives well and the upper hatch remains attached. It is open, folded over towards the port side, with two curved iron rods above it which may originally have formed a simple safety rail. Previous divers reported that the control room below is filled with sand, which may have helped protect whatever survives inside.
The periscope is no longer attached, although its fate may also be recorded on the seabed. Diver Bob Peacock reported in 1998 that a trawl net had broken it off and that it was lying alongside the submarine. When Wessex Archaeology surveyed the site sixteen years later they found a substantial mass of netting about four metres off the port side of the conning tower. They could not establish whether the periscope was buried beneath it, but the position fits the earlier account.1
Fishing gear is a recurring feature across the wreck. Nets are caught around the conning tower and lie across the deck both forward and aft, obscuring fittings and spilling down the sides of the hull. Beneath one section of netting the archaeologists found a substantial metal plate in roughly the position where the forward hydroplanes should be. If that identification is correct it is a particularly interesting survival, as those hydroplanes were one of the improvements introduced with the B class.
Mixed in with all this early twentieth-century machinery was a modern ratchet-strap lever. It is a rather neat illustration of what has happened to HMSM B2 since 1912: the submarine, fishing activity and more than a century of material passing through the Dover Strait have gradually become tangled together.
There are other signs of interference. A stanchion behind the conning tower has been sharply bent over, the compass binnacle is missing, deck fittings have disappeared and pieces of the upper casing have been torn away. Some of this may simply be the result of corrosion and the enormous forces exerted by the tides, but the report also records the effects of fishing gear and possible salvage.1
Despite that, the wreck supports relatively little marine growth. The survey recorded fish, crabs, lobsters, starfish, soft corals and colonies of conspicuous white anemones around some of the pipes behind the conning tower, but large areas of HMSM B2's steelwork remain exposed. This makes the structure unusually easy to read in the diver photographs.
The stern
The archaeological divers did not have enough slack water to reach the stern during their short survey, so Wessex Archaeology supplemented its observations with photographs and information from local divers who knew the wreck. What survives there is remarkable.
HMSM B2's three-bladed bronze propeller is still attached, as are her stern hydroplanes and single rudder, complete with elements of its operating gear. Photographs taken on different visits also demonstrate just how mobile the seabed is. The stern can become substantially buried in sand before being exposed again, and this periodic burial may actually be one of the reasons it has survived so well.1
The same process raises the possibility that considerably more material survives around the wreck than is presently visible. Magnetometer results indicated ferrous material beneath the sediment away from the main hull, while another possible piece of wreckage was detected about 35 metres beyond the stern. There is no great debris field surrounding HMSM B2, but there may be pieces of her hidden beneath the sand.
The men still aboard
A memorial service was held over the wreck later in October 1912. British warships assembled off South Foreland and their crews stood on deck while the burial service was read. The ships then steamed over HMSM B2, fired three volleys and sounded the Last Post. Among the vessels present was the Dover Harbour tug Lady Crundall, carrying representatives of the Hamburg-Amerika Line. She flew the German ensign at half-mast.1
The bodies were never recovered. As far as the archaeological investigation could establish, the fifteen men lost aboard HMSM B2 remain within the submarine.
Richard Andrews · Sidney Baratt · Alexander Douglas · James Bryant · Walter House · Herbert Keast · William Lancey · William Ledo · Eneas Lee · William Millar · Lieutenant Percy O'Brien · William Reid · Walter Rivers · Frank Russel · William Sherrel
HMSM B2 also falls into an unusual gap in the legislation intended to protect military wrecks. Because she was lost in 1912, before the 4 August 1914 cut-off used by the Protection of Military Remains Act, the archaeological report noted that she could not be designated as a protected place under that legislation. Given the survival of the wreck, its rarity and the likelihood that the crew remain aboard, Wessex Archaeology instead recommended that HMSM B2 be considered for archaeological protection.1
Still HMSM B2
There is little ambiguity about what lies on the seabed east of Dover. The dimensions match HMSM B2, the surviving machinery matches her plans and the wreck is exactly where the contemporary accounts put her. More unusually, the damage around the conning tower appears to be exactly where Amerika struck her.
What makes HMSM B2 particularly interesting is how much further the identification can be taken. The wreck isn't merely recognisable as an early submarine. Her torpedo-door mechanism is still visible inside the bow, the conning-tower hatch remains attached, pipes and deck fittings survive amid the fishing nets and, at the stern, the propeller, rudder and hydroplanes are still in place. The submarine that went down in October 1912 can still be read in the wreck today.
The sea has moved the sand around her, fishing gear has caught on her and parts of the casing have been torn away, but HMSM B2 remains remarkably complete. Every other submarine of her class has gone. The only reason this one survives is because, one dark morning off Dover, she sank with fifteen men aboard and was left where she fell.
Explore the wreck
Open HMSM B2 directly on the Wrecksite map and explore the surrounding seabed east of Dover.
Zoom to HMSM B2Sources and further reading
- Wessex Archaeology, HMS B2, Dover Approaches: Archaeological Report , prepared for English Heritage. Used as the primary source for the loss of HMSM B2, contemporary accounts, geophysical survey, diver observations, wreck condition, surviving fittings and archaeological interpretation. Read the archaeological report .